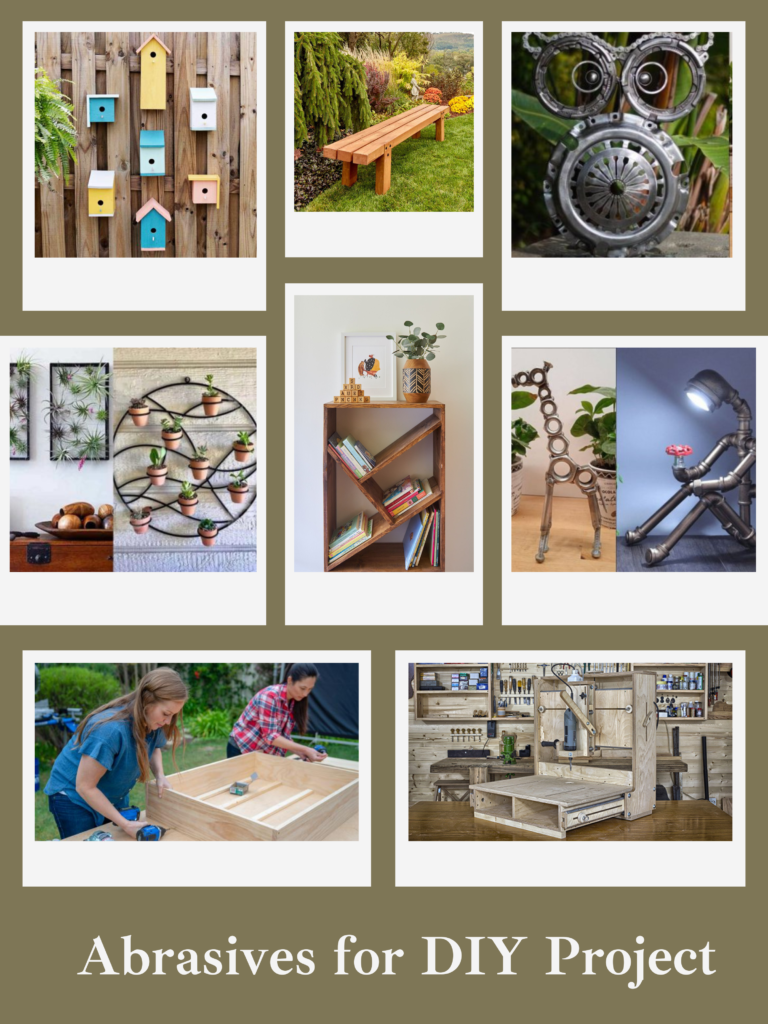
Starting a DIY project offers both excitement and the potential for complex challenges. Whether you’re refinishing furniture, tackling a home improvement task, or working on creative crafts, having the right tools is essential for achieving the best results. One crucial tool in any DIY kit is abrasives. Understanding the types of abrasives available and how to use them effectively can make a significant difference in the outcome of your project.
In this comprehensive guide, we’ll explore the various abrasives suitable for DIY projects, including their types, uses, and tips for selection. Our goal is to provide you with valuable insights to help you choose the right abrasives for your home projects and ensure a smooth, successful DIY experience.
What Are Abrasives?
Abrasives are materials used to wear away or smooth surfaces through friction. They come in various forms and types, each designed for specific tasks. Abrasives are classified based on their composition, backing material, and bonding method. For DIY projects, understanding these categories can help you select the most suitable abrasive for your needs.
Types of Abrasives for DIY Projects
- Coated Abrasives
Coated abrasives are versatile and commonly used in DIY projects. They consist of abrasive grains adhered to a flexible backing material, such as paper, cloth, or polyester film. Common forms of coated abrasives include sandpaper, sanding belts, and discs.- Sandpaper: Available in various grit sizes, sandpaper is ideal for tasks like sanding wood, removing paint, or smoothing surfaces. It comes in sheets that can be cut to size and used by hand or with a sanding block.
- Sanding Belts: Sanding belts are used with belt sanders for tasks that require high material removal rates, such as leveling rough wood or metal surfaces.
- Sanding Discs: Sanding discs attach to power sanders and are useful for both aggressive sanding and fine finishing.
- Bonded Abrasives
Bonded abrasives consist of abrasive grains bonded together into solid shapes, such as wheels, blocks, or sticks. These abrasives are designed for heavy-duty tasks and are commonly used in grinding and cutting applications.- Grinding Wheels: These are used for sharpening tools, grinding metal, and removing welds. Grinding wheels come in various sizes and types, including vitrified and resin-bonded.
- Cutting Wheels: Designed for cutting metal, stone, and other hard materials, cutting wheels are commonly used with angle grinders.
- Abrasive Blocks: Abrasive blocks are versatile tools used for hand sanding and finishing tasks.
- Specialty Abrasives
Specialty abrasives cater to specific needs and materials. They include:- Diamond Abrasives: These abrasives are used for cutting, grinding, and polishing hard materials like glass, ceramics, and stone.
- Ceramic Abrasives: Known for their durability, ceramic abrasives are suitable for heavy grinding and metalworking tasks.
Choosing the Right Abrasive for Your DIY Project
Selecting the appropriate abrasive for your DIY project involves considering several factors, including the material you’re working with, the desired finish, and the type of task. Consider these detailed steps to ensure you select the most suitable abrasive for your project:
- Determine the Material
- Wood: For woodworking projects, sandpaper is commonly used. Choose a grit size based on the stage of sanding—coarse grits (40-60) for initial sanding, medium grits (80-120) for smoothing, and fine grits (150-220) for finishing.
- Metal: For metalworking, coated abrasives like sanding discs or belts can be used for initial sanding and finishing. Bonded abrasives, such as grinding wheels, are ideal for more aggressive material removal.
- Stone and Glass: Diamond abrasives are suitable for cutting and polishing hard materials like stone and glass.
- Consider the Type of Task
- Sanding: Coated abrasives, such as sandpaper and sanding belts, are best for sanding tasks. Choose the appropriate grit based on the level of surface smoothness you require.
- Grinding and Cutting: For grinding and cutting tasks, bonded abrasives like grinding wheels and cutting wheels are essential. Ensure you select the correct type based on the material and thickness of the workpiece.
- Polishing: For polishing tasks, use fine-grit coated abrasives or specialty polishing abrasives to achieve a smooth, high-gloss finish.
- Select the Right Grit Size
- Coarse Grits (40-60): Ideal for heavy material removal and initial sanding. Useful for rough surfaces and removing paint or old finishes.
- Medium Grits (80-120): Suitable for smoothing surfaces and preparing them for final finishing. Ideal for general sanding tasks.
- Fine Grits (150-220): Used for achieving a smooth finish and preparing surfaces for painting or staining. Ideal for final sanding and polishing.
- Choose the Appropriate Backing Material
- Paper Backing: Suitable for light to medium sanding tasks. It is commonly used for hand sanding and low-impact applications.
- Cloth Backing: Offers greater durability and flexibility, making it suitable for heavy-duty sanding and use with power tools.
- Polyester Film Backing: Provides excellent durability and is often used for high-performance applications, including industrial settings.
Tips for Using Abrasives Effectively
- Proper Technique
- Sandpaper: When using sandpaper, apply even pressure and move in the direction of the grain to avoid scratches. Change the sandpaper frequently to ensure consistent performance.
- Sanding Belts and Discs: Ensure that the sanding belt or disc is properly aligned and tensioned. Use the entire surface of the belt or disc to prevent uneven wear.
- Grinding Wheels: Keep the grinding wheel properly dressed to maintain its effectiveness. Avoid excessive pressure, which can cause overheating and reduce the lifespan of the wheel.
- Safety Precautions
- Wear Protective Gear: Always wear safety goggles, a dust mask, and hearing protection when using abrasives to protect yourself from dust, debris, and noise.
- Ventilation: Work in a well-ventilated area to minimize dust exposure and ensure proper airflow.
- Tool Maintenance: Regularly inspect and maintain your power tools and abrasive equipment to ensure safe and efficient operation.
- Storage and Maintenance
- Store Abrasives Properly: Keep abrasives in a dry, cool place to prevent moisture damage and extend their lifespan.
- Clean and Replace: Regularly clean abrasive surfaces to remove buildup and replace worn-out abrasives to maintain optimal performance.
Conclusion
Abrasives are essential tools for any DIY project, helping you achieve smooth finishes, precise cuts, and efficient material removal. Understanding the differences between coated and bonded abrasives, as well as selecting the right abrasive for your specific needs, can greatly enhance the quality of your work.
At M/s Sandpaper Rodiez, we offer a wide range of high-quality abrasives tailored to your requirements. Whether you’re working on woodworking, metalworking, or creative home projects, we have the solutions you need. Visit our website to explore our selection of abrasives and find the perfect products for your DIY endeavors.
By choosing the right abrasives and following best practices, you can ensure that your DIY projects are completed with precision, efficiency, and outstanding results. Happy DIYing!


